
MM32F0121开发板评测之移植RTT内核
分享作者:F888
作者昵称:我爱小易
评测品牌:灵动微电子
评测型号:Mini-F0121-OB
发布时间:2024-12-10 10:51:39
22 0
前言
开源口碑分享内容
一、介绍
这一次不卷了,开发板和上一次我写的帖子一样,寄过来是有两个盒子装的,特别好评!板载主控为MM32F0121C6P Arm Cortex-M0的内核,64KB Flash, 8KB SRAM,外设资源特别丰富。
- 1个12 位的ADC和1 个比较器
- 1 个 CSM 通用串行模块、1 个 16 位高级定时器、1 个16 位通用定时器、3 个16 位基本定时器和 1 个实时时钟(RTC)模块
- 3 个 USART 接口、1 个 SPI 接口和 1 个 I2C 接口。
跟G0001一样的内核,但是这个开发板性价比很高,完全版的mm32 link mini,板载8M SPI FLASH,2K EEPROM很香,唯一的不足就是不能和G0001一样可以拆下来。
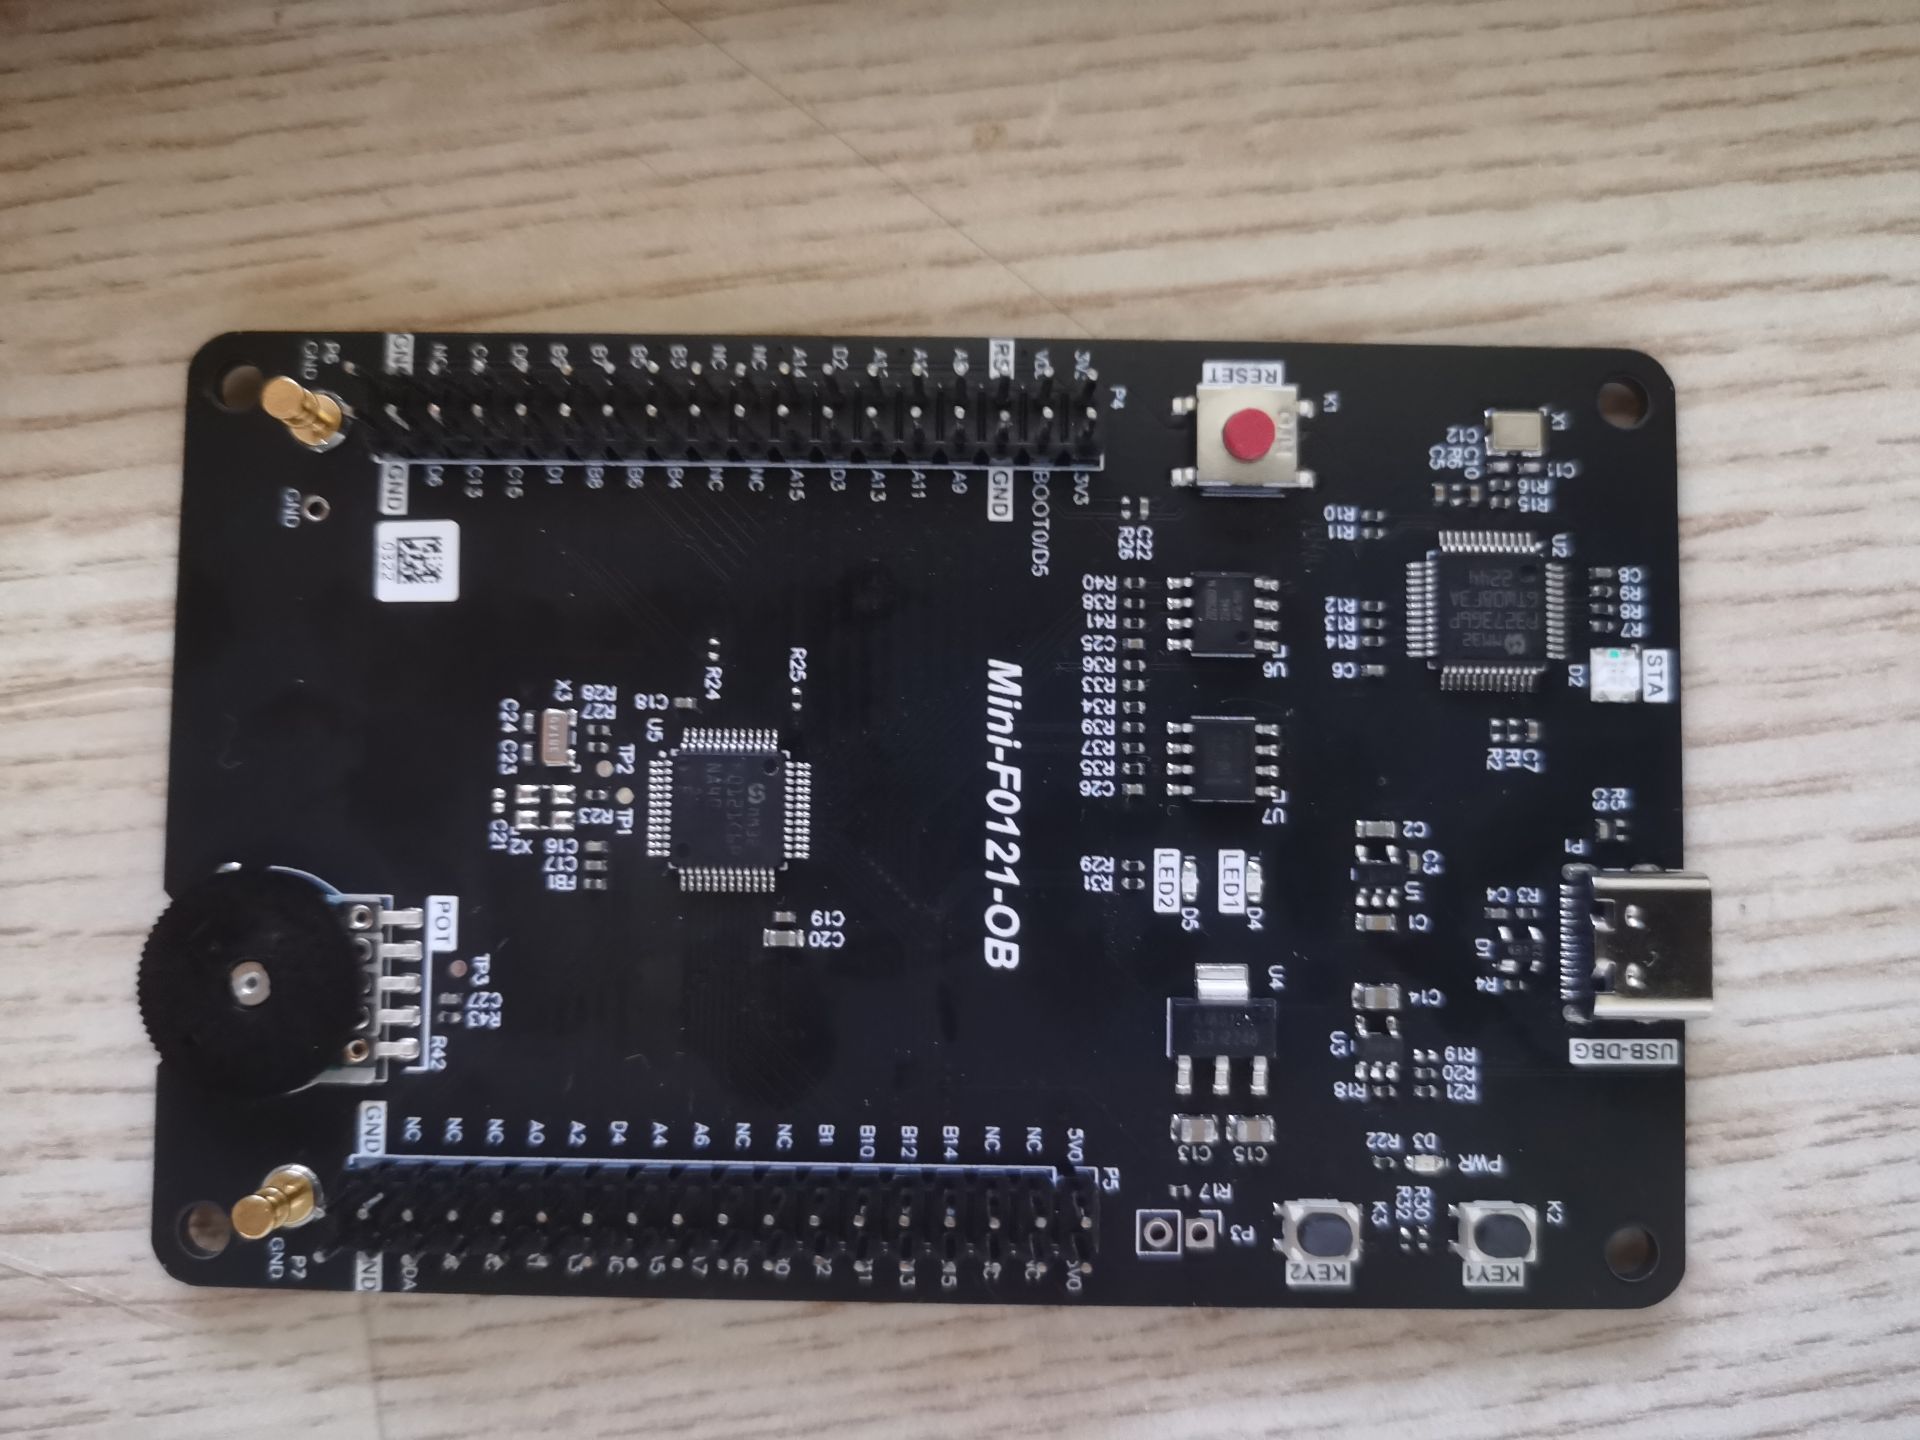
ps:好像这IC还送了3KB空间,好评!!
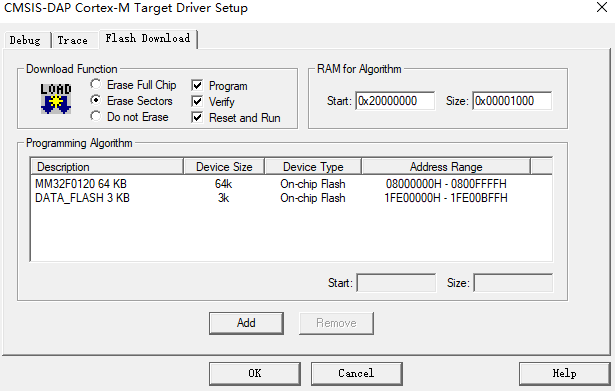
二、移植方法
参考之前我发的一个帖子: 我是链接点我
三、主函数代码介绍
/* Private functions **************************************************************************************************/
static rt_thread_t thread1 = RT_NULL;
static rt_thread_t thread2 = RT_NULL;
/***********************************************************************************************************************
  * @brief  This function is main entrance
  * @note   main
  * @param  none
  * @retval none
  *********************************************************************************************************************/
void thread1_entry( void *parameter)
{
	while(1)
	{
		GPIO_SetBits(GPIOB, GPIO_Pin_14);
	  rt_thread_mdelay(150);
		GPIO_ResetBits(GPIOB, GPIO_Pin_14);
		rt_thread_mdelay(150);

		rt_kprintf("im thread1 BLUE\n");

	}
}
void thread2_entry( void *parameter)
{
	  while (1)
    {
			GPIO_SetBits(GPIOB, GPIO_Pin_15);
	    rt_thread_mdelay(500);
		  GPIO_ResetBits(GPIOB, GPIO_Pin_15);
		  rt_thread_mdelay(500);
			rt_kprintf("im thread2 GREEN\n");

    }
}
void GPIOB_Init()
{
	RCC_AHBPeriphClockCmd(RCC_AHBPeriph_GPIOB,ENABLE);
	GPIO_InitTypeDef GPIO_Init_structure;
	GPIO_Init_structure.GPIO_Mode=GPIO_Mode_Out_PP;
	GPIO_Init_structure.GPIO_Pin=GPIO_Pin_14 | GPIO_Pin_15;
	GPIO_Init_structure.GPIO_Speed=GPIO_Speed_High;
	GPIO_Init(GPIOB, &GPIO_Init_structure);
}
int main(void)
{
	GPIOB_Init();
	rt_kprintf("hello rt-thread!!\n");
	thread1 = rt_thread_create( "thread1",thread1_entry,RT_NULL,1024,1,5);
	if (thread1 != RT_NULL)
		{
			rt_thread_startup(thread1);
		}

	thread2 = rt_thread_create( "thread1",thread2_entry,RT_NULL,128,1,5);
	if (thread1 != RT_NULL)
		{
			rt_thread_startup(thread2);
		}

    while (1)
    {

		rt_kprintf("I'm main!!\n");
	  rt_thread_mdelay(500);
    }
}- GPIOB_Init() 函数初始化了 GPIOB 的 14 和 15 引脚,配置为推挽输出模式,用于控制 LED。
- 线程1 (thread1_entry):该线程控制 GPIOB 的 14 引脚。每隔 150 毫秒切换一次引脚的电平(开关 LED),并且每次循环输出调试信息 "im thread1 BLUE"。线程2 (thread2_entry):该线程控制 GPIOB 的 15 引脚。每隔 500 毫秒切换一次引脚的电平(开关 LED),并且每次循环输出调试信息 "im thread2 GREEN"。
- 在主函数中,首先初始化 GPIOB 引脚,然后创建并启动了两个线程。主线程在循环中每隔 500 毫秒输出一次 "I'm main!!" 。
以上就是这个函数的功能。
四、视频
五、文件代码
可以进一下iceasy粉丝群获取小易也在里面:878481249。
全部评论

暂无评论
0/144