
 开源社区
开源社区 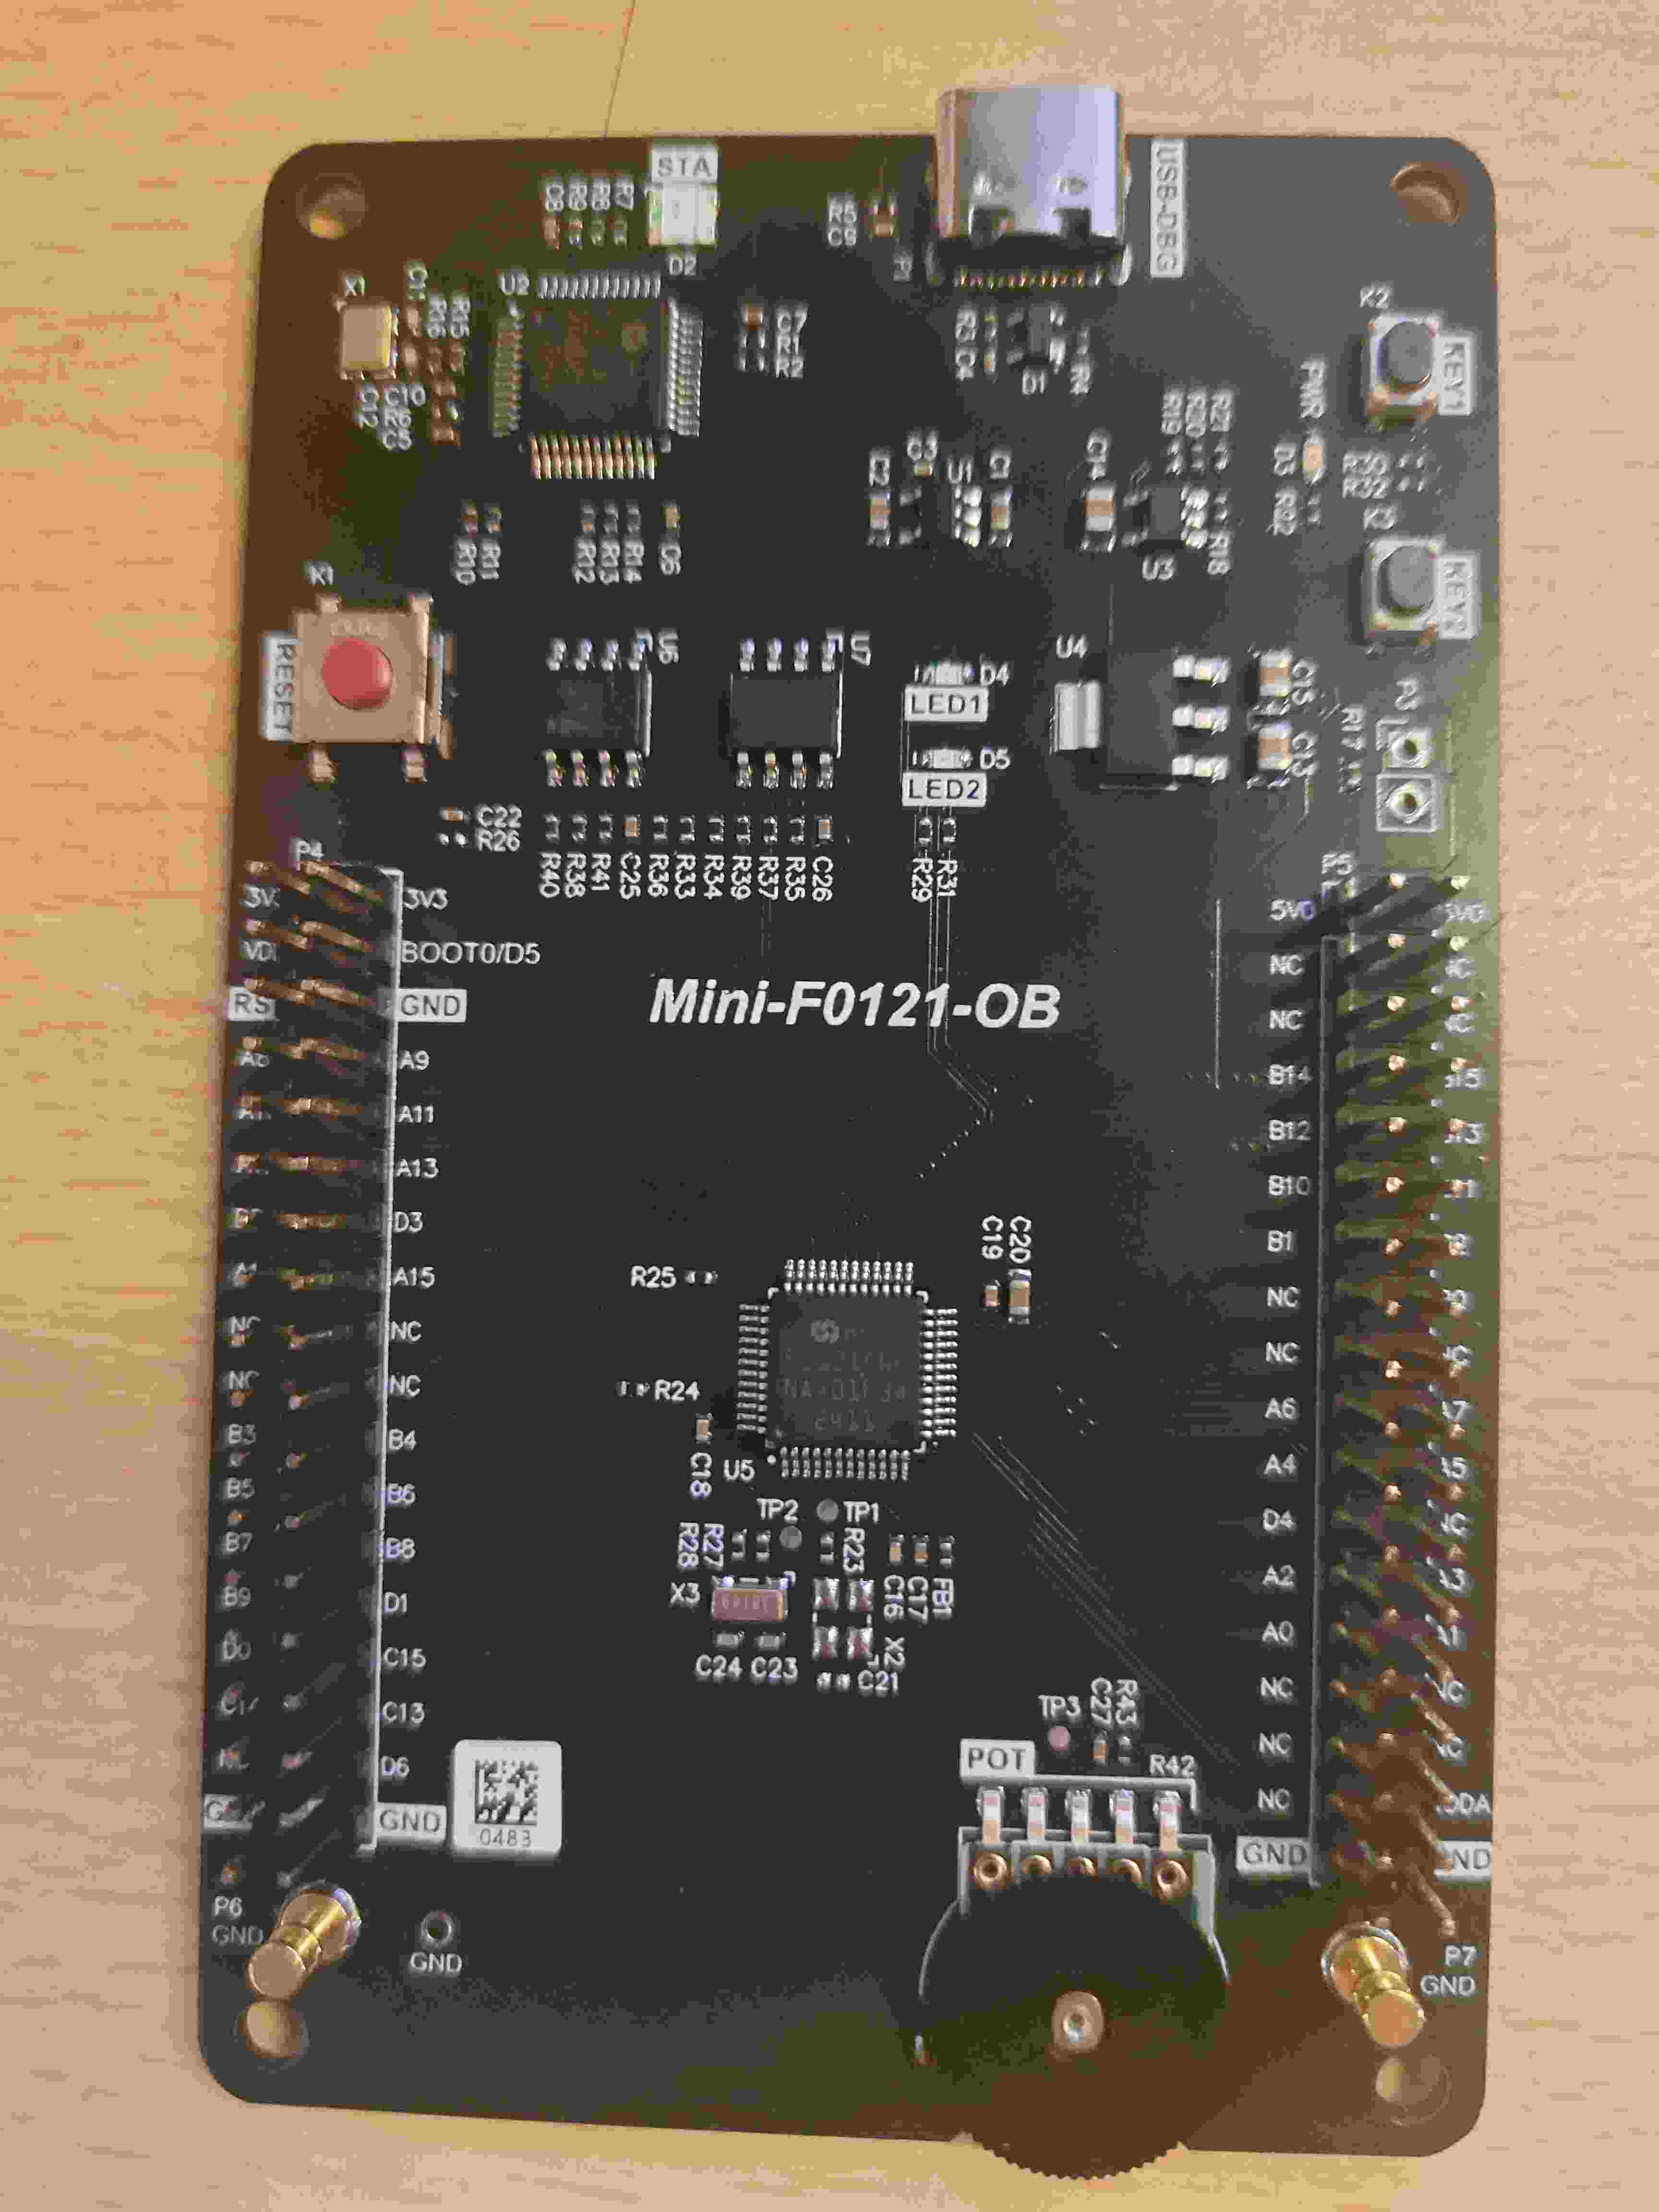
//key_control_led.c
/* Files include */
#include <stdio.h>
#include "platform.h"
#include "gpio_key_input.h"
#include "gpio_led_toggle.h"
/**
* @brief Configures all GPIOs for keys and LEDs.
* @param None
* @retval None
*/
void GPIO_Configure(void)
{
GPIO_InitTypeDef GPIO_InitStruct;
// Enable Clocks for GPIOA and GPIOB
RCC_AHBPeriphClockCmd(RCC_AHBPeriph_GPIOA, ENABLE);
RCC_AHBPeriphClockCmd(RCC_AHBPeriph_GPIOB, ENABLE);
// Configure KEY1 -> PA0 (Input Pull-Down)
GPIO_StructInit(&GPIO_InitStruct);
GPIO_InitStruct.GPIO_Pin = GPIO_Pin_0;
GPIO_InitStruct.GPIO_Mode = GPIO_Mode_IPD;
GPIO_Init(GPIOA, &GPIO_InitStruct);
// Configure KEY2 -> PB12 (Input Pull-Up)
GPIO_StructInit(&GPIO_InitStruct);
GPIO_InitStruct.GPIO_Pin = GPIO_Pin_12;
GPIO_InitStruct.GPIO_Mode = GPIO_Mode_IPU;
GPIO_Init(GPIOB, &GPIO_InitStruct);
// Configure LED1 -> PB15 and LED2 -> PB14 (Output Push-Pull)
// Note: The hardware definition of which LED is which remains the same.
GPIO_StructInit(&GPIO_InitStruct);
GPIO_InitStruct.GPIO_Pin = GPIO_Pin_14 | GPIO_Pin_15;
GPIO_InitStruct.GPIO_Speed = GPIO_Speed_High;
GPIO_InitStruct.GPIO_Mode = GPIO_Mode_Out_PP;
GPIO_Init(GPIOB, &GPIO_InitStruct);
// Initial state: Turn OFF both LEDs
GPIO_SetBits(GPIOB, GPIO_Pin_14 | GPIO_Pin_15);
}
/**
* @brief Toggles the specified GPIO pin.
* @param GPIOn: Specifies the GPIO port.
* @param PINn: Specifies the pin number.
* @retval None
*/
void GPIO_IO_Toggle(GPIO_TypeDef *GPIOn, uint16_t PINn)
{
if (Bit_RESET == GPIO_ReadOutputDataBit(GPIOn, PINn))
{
GPIO_SetBits(GPIOn, PINn);
}
else
{
GPIO_ResetBits(GPIOn, PINn);
}
}
/**
* @brief Key Finite State Machine (FSM) handler.
* @param State: Pointer to the key state variable.
* @param Count: Pointer to the debounce counter variable.
* @param InputLevel: Current level read from the GPIO pin.
* @param ActiveLevel: The level that indicates the key is pressed.
* @param Name: Key name for printing.
* @param GPIOn_LED: GPIO port of the associated LED.
* @param PINn_LED: GPIO pin of the associated LED.
* @retval None
*/
void KEY_FSM_Handler(uint8_t *State, uint8_t *Count, uint8_t InputLevel, uint8_t ActiveLevel, char *Name, GPIO_TypeDef *GPIOn_LED, uint16_t PINn_LED)
{
if (0 == *State) // State: Released
{
if (InputLevel == ActiveLevel)
{
*Count += 1;
if (*Count >= 5)
{
*State = 1;
*Count = 0;
printf("\r\n%s Pressed", Name);
}
}
else
{
*Count = 0;
}
}
else // State: Pressed
{
if (InputLevel != ActiveLevel)
{
*Count += 1;
if (*Count >= 5)
{
*State = 0;
*Count = 0;
printf("\r\n%s Released", Name);
// Ensure the associated LED is OFF when the key is released
GPIO_SetBits(GPIOn_LED, PINn_LED);
}
}
else
{
*Count = 0;
}
}
}
/**
* @brief Main sample function: Two keys independently control two LEDs. (FIXED)
* @param None
* @retval None
*/
void Dual_Key_Control_Dual_LED_Sample(void)
{
static uint8_t KeyState[2] = {0, 0};
static uint8_t KeyCount[2] = {0, 0};
printf("\r\nTest %s", __FUNCTION__);
GPIO_Configure();
printf("\r\nPress and hold KEY1 to blink LED1.");
printf("\r\nPress and hold KEY2 to blink LED2.");
while (1)
{
// --- MODIFIED HERE ---
// Update KEY1 state, and associate it with LED1 (PB14) for release handling
KEY_FSM_Handler(&KeyState[0], &KeyCount[0],
GPIO_ReadInputDataBit(GPIOA, GPIO_Pin_0), Bit_SET, "KEY1",
GPIOB, GPIO_Pin_14); // <-- Now correctly linked to LED1
// Update KEY2 state, and associate it with LED2 (PB15) for release handling
KEY_FSM_Handler(&KeyState[1], &KeyCount[1],
GPIO_ReadInputDataBit(GPIOB, GPIO_Pin_12), Bit_RESET, "KEY2",
GPIOB, GPIO_Pin_15); // <-- Now correctly linked to LED2
// --- MODIFIED HERE ---
// Control LEDs based on their respective key's state
if (KeyState[0] == 1) // If KEY1 is pressed
{
GPIO_IO_Toggle(GPIOB, GPIO_Pin_15); // <-- Toggle LED1 (PB15)
}
if (KeyState[1] == 1) // If KEY2 is pressed
{
GPIO_IO_Toggle(GPIOB, GPIO_Pin_14); // <-- Toggle LED2 (PB14)
}
PLATFORM_DelayMS(100);
}
}
//key_control_led.c
/* Define to prevent recursive inclusion */
#ifndef __KEY_CONTROL_LED_H
#define __KEY_CONTROL_LED_H
#ifdef __cplusplus
extern "C" {
#endif
/* Includes ------------------------------------------------------------------*/
#include "platform.h" // 可能需要包含平台相关的头文件
/**
* @brief Main sample function: KEY1 controls LED blinking.
* @param None
* @retval None
*/
void Dual_Key_Control_Dual_LED_Sample(void);
#ifdef __cplusplus
}
#endif
#endif /* __KEY_CONTROL_LED_H */